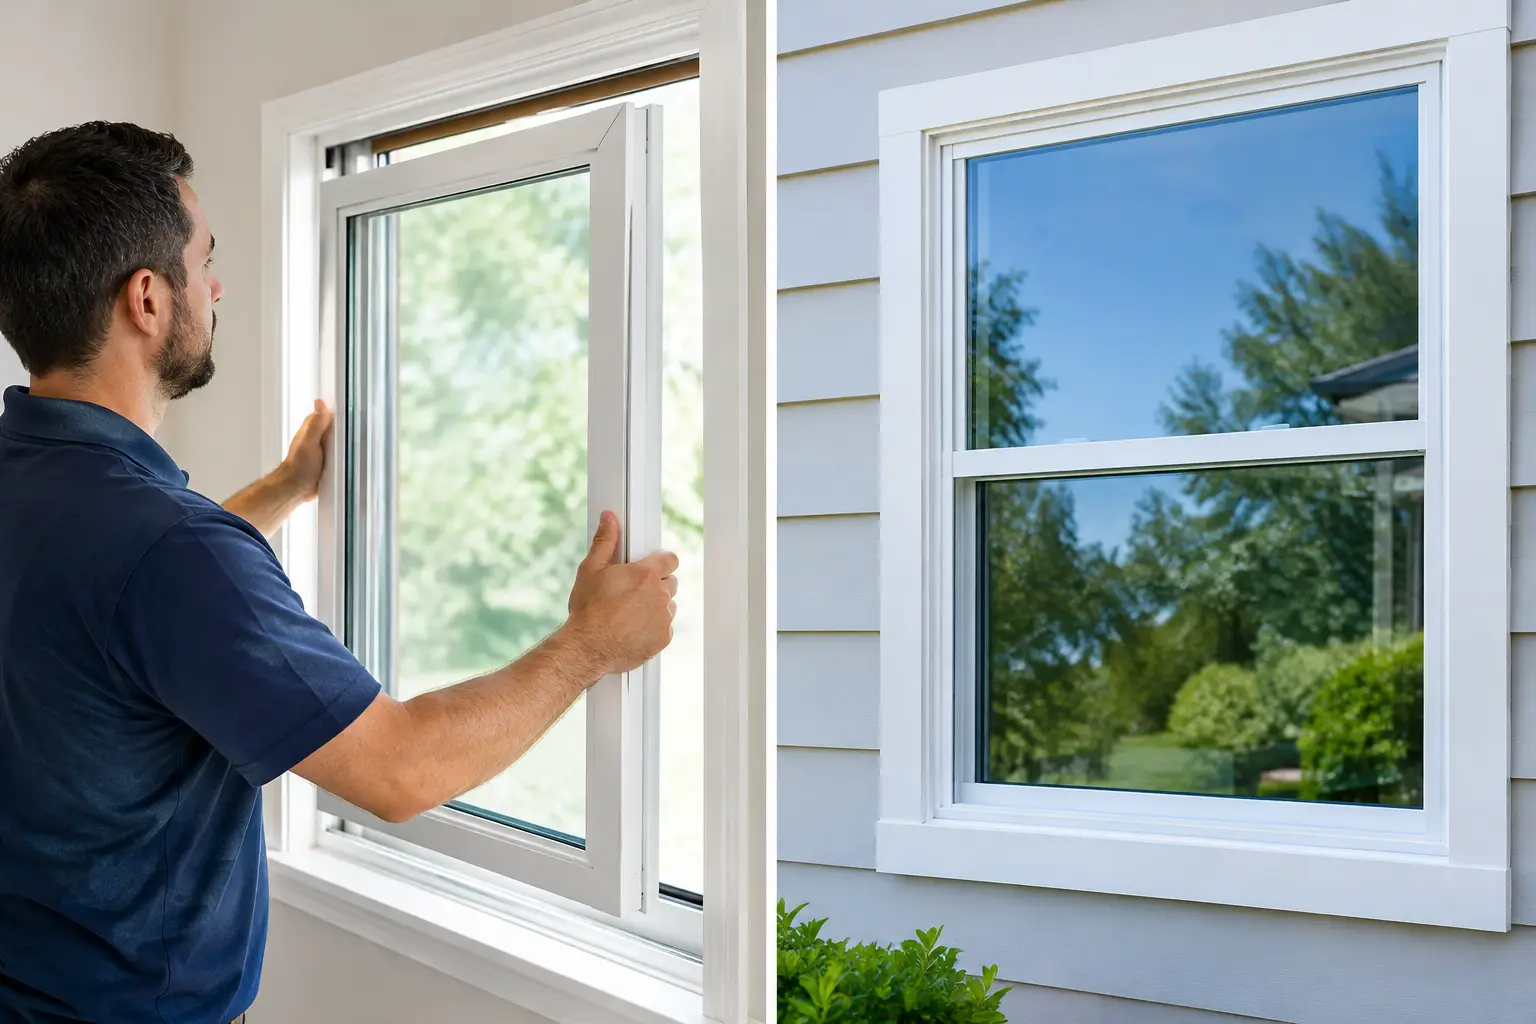
Smart window automation is reshaping how contractors deliver value, combining convenience, energy efficiency, and accessibility. These systems use motorized operators and wireless protocols (like Z-Wave, Zigbee, and Matter) to integrate seamlessly with home automation platforms. The global smart home market is projected to grow to $722.63 billion by 2032, making this a lucrative opportunity for contractors.
Key benefits include:
- Energy Savings: Systems can reduce HVAC costs by leveraging natural cooling and ventilation.
- Increased Property Value: Smart upgrades can boost home resale prices by about 3%.
- Accessibility: Voice-activated controls improve usability for individuals with disabilities.
- Safety: Automated responses to emergencies (e.g., smoke or CO alerts) enhance home safety.
For effective installation, contractors should focus on:
- Using durable materials like reinforced vinyl frames to support motorized hardware.
- Ensuring proper alignment, sealing, and wiring to maintain performance.
- Integrating with smart home hubs for features like voice control, scheduling, and environmental triggers.
Smart window systems not only improve functionality but also position contractors as leaders in this growing market.
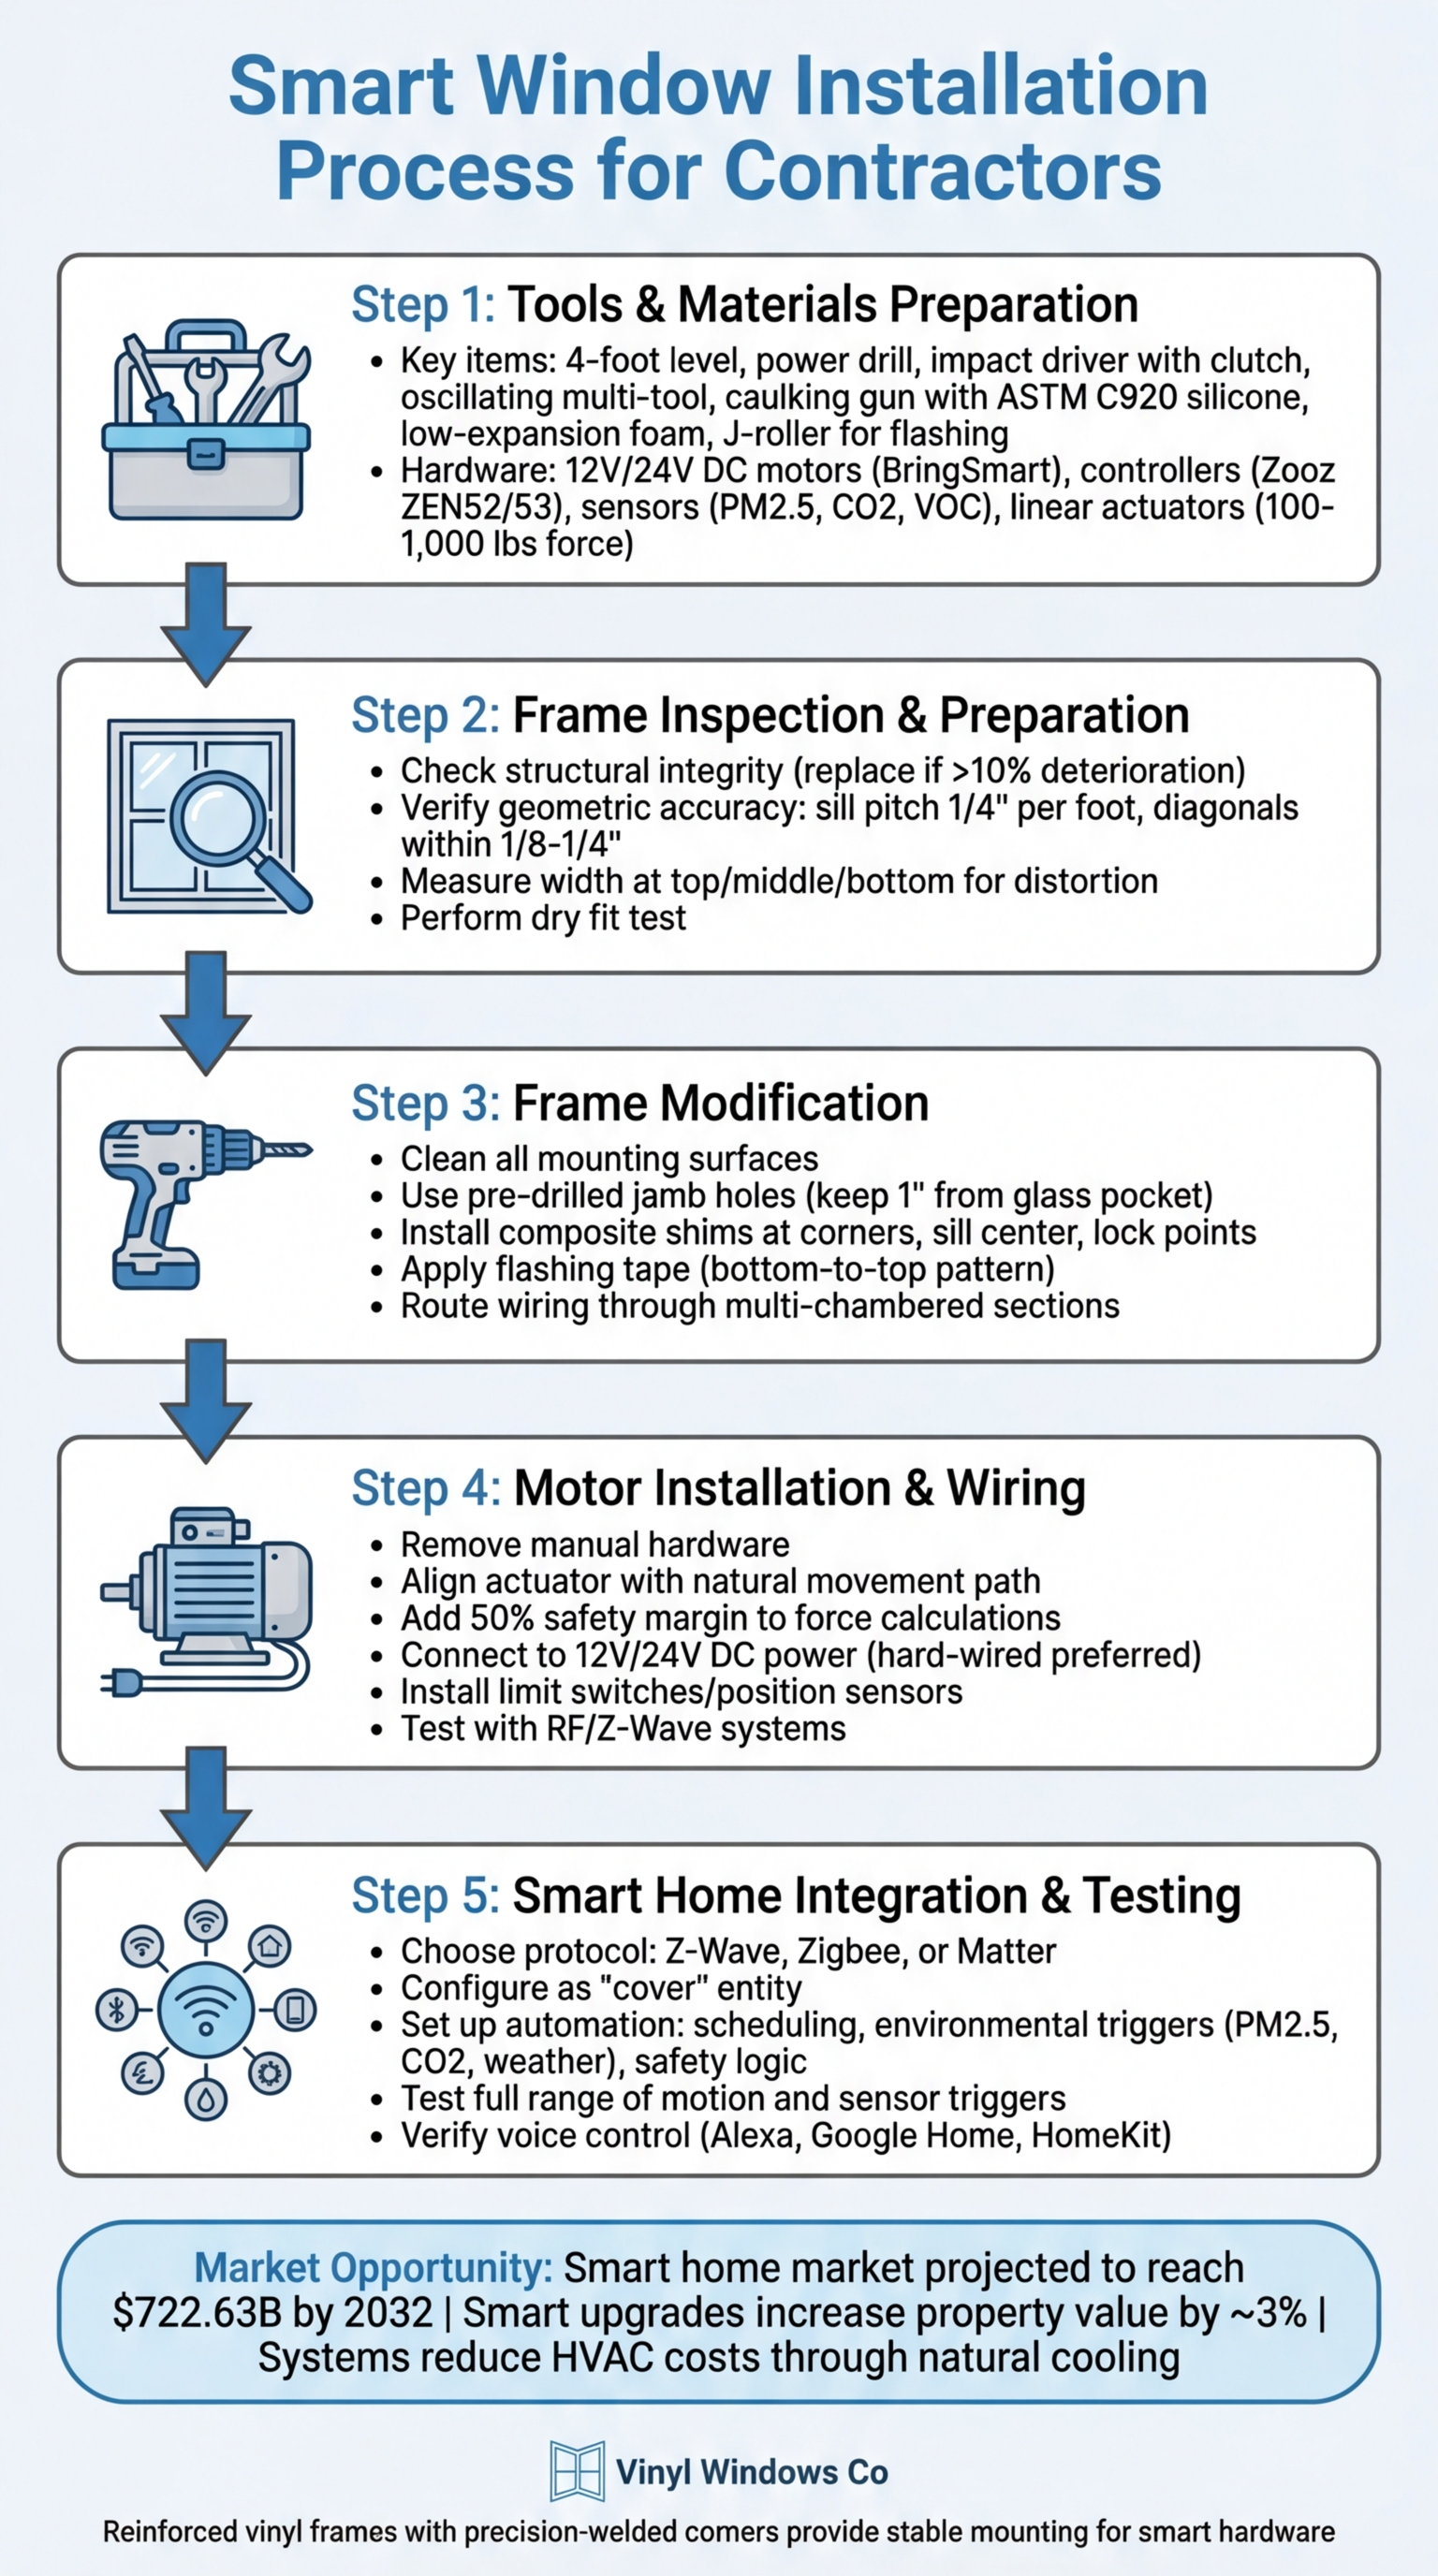
Smart Window Installation Process: 5 Essential Steps for Contractors
Tools and Materials for Smart Window Installation
When installing smart window systems on vinyl frames, having the right tools and materials is absolutely essential. Using improper equipment can lead to warped frames, malfunctioning motorized components, or even voided warranties. Below is a breakdown of the key tools and materials you’ll need for a smooth and precise installation.
Required Tools for Installation
Precision is everything when it comes to installing smart windows. To start, you’ll need leveling tools to ensure the frame is perfectly square. A combination of a 4-foot level, a 2-foot level, and a torpedo level will help you achieve this.
For fastening, a power drill with driver bits and an impact driver featuring a clutch is essential. The clutch is particularly important to prevent overdriving screws, which can damage the vinyl frame. An oscillating multi-tool is invaluable for making precise adjustments to the frame or trim, while a pry bar can assist with any modifications during the installation process.
Sealing the window properly is another critical step. A smooth-rod caulking gun paired with 100% silicone sealant (ASTM C920 rated) ensures a reliable, weatherproof bond with the vinyl. For insulation, only use low-expansion foam specifically labeled for windows and doors – this prevents frame distortion. To protect electrical components from moisture, a J-roller is ideal for pressing self-adhesive flashing tape firmly into place.
Combining these tools with high-quality materials ensures a professional-grade installation.
Smart Window Hardware Parts
The heart of any smart window system lies in its hardware. Key components include motorized operators, motor controllers, and sensors. Motorized operators typically use 12V or 24V DC motors, such as the BringSmart 12V, while controllers like the Zooz ZEN52 or ZEN53 allow integration with Z-Wave or Zigbee networks. Sensors add functionality by monitoring window position, air quality (PM2.5, CO2, VOC), and temperature.
For heavier windows, linear actuators with force ratings between 100 and 1,000 lbs are ideal, while folding arm operators work well for casement-style windows. All these components must work seamlessly with durable vinyl frames.
Vinyl Windows Co produces reinforced vinyl windows with precision-welded corners, providing stable mounting points for motorized hardware. Their advanced weather-sealing systems integrate effectively with flashing and sealants to protect smart components from moisture. Additionally, custom 3D-printed motor housings can adapt generic motors to fit specific vinyl frame profiles. For long-lasting support, composite shims are a better choice than wood, as they resist rot and maintain rigidity over time .
sbb-itb-a4eb837
Preparing Vinyl Window Frames for Smart Hardware
To ensure proper sensor alignment, smooth sash movement, and reliable hardware performance, it’s crucial to inspect and prepare the vinyl frame thoroughly.
Inspecting the Window Frame
Begin by examining the structural integrity of the rough opening. Use a screwdriver to check for any soft spots, rot, or water damage in the wood framing. If more than 10% of the framing shows signs of deterioration, replace it with pressure-treated lumber before moving forward. Pay attention to discoloration, mold, or mildew, as these may indicate moisture issues that could disrupt the smart hardware’s functionality.
Next, assess the geometric accuracy of the frame. Use a 4-foot level to confirm that the sill, header, and side jambs are plumb and level. The sill should have a 1/4-inch per foot outward pitch, and diagonal measurements should match within 1/8 to 1/4 inch. An uneven or out-of-square frame can cause the sashes to stick, which may overburden motorized components.
Check for frame distortion by measuring the width at the top, middle, and bottom of the opening. Vinyl frames often bow in the center of the jambs, which can interfere with sensors and tracks. Perform a dry fit by placing the window into the opening without securing it. This ensures the sashes move freely and the reveals are consistent.
Vinyl Windows Co frames are built with a multi-chambered, heavy-duty dual-wall extrusion design for stable mounting points, while their precision-welded corners maintain squareness better than mechanically fastened frames. This reduces the need for extensive shimming.
After the frame passes inspection, move on to adjusting the mounting surfaces and preparing secure anchor points for the smart hardware.
Modifying Frames for Hardware
Once the frame’s structural integrity and alignment are confirmed, make necessary modifications to optimize the installation of smart hardware.
Start by cleaning all mounting surfaces. Remove dust, debris, and any protruding fasteners from the rough opening to create a flat, stable surface for hardware brackets. Clean the vinyl frames with mild soap and water using a soft cloth – avoid harsh cleaners that could damage the frame’s finish or void its warranty.
When drilling or mounting hardware, use pre-drilled jamb holes whenever possible. If new holes are needed, position them within the multi-chambered sections, keeping at least 1 inch away from the insulated glass pocket to protect the argon gas seal and maintain energy efficiency.
Secure components using 1-1/2 inch screws, but avoid over-tightening. Excessive torque can distort the vinyl frame, leading to issues with both the window and the smart hardware.
Place composite shims at key locations, such as the bottom corners, sill center, and lock points, to support motorized hardware. Shims should fit snugly but not be forced, as too much pressure can bow the frame. Apply flashing tape in a bottom-to-top "shingle" pattern (sill first, then jambs, then the head) to prevent water infiltration. Use low-expansion, window-rated spray foam to fill gaps, as standard foam can exert too much pressure and distort the frame, making motorized sashes inoperable.
For wiring, route cables through the multi-chambered sections to avoid interfering with sash operation. Ensure weep holes remain clear and uncovered during the installation to keep the drainage system functional.
These steps align with Vinyl Windows Co’s streamlined installation process and ensure the smart window system operates reliably over time.
Installing Motorized Window Operators
With the vinyl frame prepped and mounting points secured, it’s time to install the motorized operators. This step demands precision to ensure smooth and reliable operation over time.
Mounting the Motorized Operator
Start by removing all manual window hardware. Select brackets that match your window type – frame mounts for single or double-hung windows and U-shaped brackets for casement windows.
Align the operator’s actuator with the window’s natural movement path. Robbie Dickson, Founder of FIRGELLI Automations, emphasizes:
"The actuator must be positioned to push or pull along the window’s natural movement path, avoiding side loading that could cause premature wear or binding".
Attach the mounting brackets to both the frame and the moving sash using the provided hardware, usually #6 metric bolts. For heavier or stickier windows, consider installing operators on both sides of the frame to evenly distribute the force and prevent the sash from twisting.
Before tightening everything down, manually move the window through its full range of motion to ensure the operator follows the correct path. When calculating the necessary force, include a 50% safety margin above the window’s weight and friction to ensure long-term performance. Secure the motor to the brackets firmly, but avoid over-tightening to prevent damaging the vinyl frame.
Once the operator’s alignment and attachment are confirmed, proceed to wire the power and control systems.
Wiring Power and Control Systems
Connect the motor to a 12V or 24V DC power source. This setup enhances safety and allows for battery backup integration. Hard-wiring is recommended over battery-powered solutions to reduce maintenance and maximize long-term value. O’D McKewan, Product Coach at Window Covering World, advises:
"While investing in the wiring does cost more in the beginning, it almost always requires less maintenance and a better return on investment in the long term".
For control, wire the motor to a DPDT switch for manual operation or integrate it with RF/Z-Wave systems for remote and smart home functionality. If managing multiple windows, a bus architecture can simplify wiring by connecting several actuators to a single control line, each with its own unique address.
Install limit switches or position sensors to stop the motor at fully open or closed positions. Test the system using your remote or manual switch to confirm smooth operation before wrapping up the installation.
With the wiring complete, the next step is conducting system tests to ensure everything functions as intended.
Connecting Smart Windows to Home Automation Systems
Integrating motorized window operators into your home automation system opens up a world of convenience, including voice commands, automated schedules, and triggers based on environmental conditions.
Choosing Compatible Automation Platforms
Start by identifying the wireless protocol your system uses – options include Z-Wave, Zigbee, or Matter. Make sure the hub you’re using supports the specific protocol version required, such as Z-Wave Plus or Zigbee 3.0.
Check that the automation platform recognizes the motorized window hardware as a "cover" entity. This allows for commands like open, close, and stop, as well as percentage sliders for precise positioning.
Signal strength is another key factor. If needed, improve connectivity by adding mesh repeaters to your setup.
David Bell, a Smart Home Expert at Vesternet, highlights the importance of hubs in smart systems:
"Smart home gateways serve as central coordination points, managing communication between blind controllers, environmental sensors, and user interfaces".
For inspiration, consider a project from December 2025, where Vincent Hylla and Anna Bakken of DIY with Vinny integrated BringSmart 12V DC motors and Zooz ZEN52/53 DC Motor Controllers into Home Assistant. Using Z-Wave JS and MQTT, they created automation routines like "Natural Cooling", which opens windows when outdoor air is cooler, and "Rain Protection", which closes them automatically based on weather data.
Once you’ve confirmed compatibility with your hub, it’s time to configure automation features for maximum efficiency.
Setting Up Smart Features
After confirming platform compatibility, focus on configuring automation features to enhance your system’s functionality. Here are some key features to set up:
- Scheduling: Program windows to open at sunrise and close at sunset. Create preset scenes, such as "Good Morning" or "Home Security", to control multiple windows simultaneously.
- Environmental triggers: Use sensors for PM2.5, CO₂, or VOC levels to open windows when indoor air quality decreases. Weather integration can close windows during rain. You can even link your HVAC system to disable air conditioning when windows are open.
- Safety logic: Enable features like "Lockout Mode" to prevent movement if manual locks are engaged or blockages are detected by sensors. Emergency routines can also be programmed – smoke or CO detectors can trigger all windows to open while shutting off HVAC systems for safety.
These automation options work seamlessly with Vinyl Windows Co’s high-performance frames, making for a smooth smart home upgrade.
To ensure everything runs as expected, test each automation scenario thoroughly. Walk homeowners through the app interface and voice control options, such as Amazon Alexa, Google Home, or Apple HomeKit. Finally, remind users to keep firmware updated on controllers and hubs to maintain security and access new features.
Testing, Troubleshooting, and Maintenance
Running System Tests
Start by testing the full range of window motion to ensure it stops exactly at the upper and lower limits. Confirm that the motor controller communicates seamlessly with your smart home hub, providing real-time status updates in your app. To simulate sensor conditions, try covering a light sensor or adjusting the thermostat, and use your hub’s diagnostic tools to check wireless signal strength. For systems powered by batteries, make sure the voltage remains sufficient.
Fixing Common Problems
If a window doesn’t respond, begin by replacing the batteries and rebooting the hub. Grinding noises often mean the tracks need cleaning – use a microfiber cloth and an approved lubricant. When a window stops too early or moves beyond its limits, recalibrate the upper and lower stops using your app. For wired systems, inspect adapters and cables twice a year to check for pinching or fraying, and ensure low-voltage plugs are securely connected to the motor port. If connectivity issues persist, they might be caused by mesh network interference. In that case, consider adding Z-Wave or Zigbee repeaters to optimize signal paths.
"Never spray cleaner directly onto the motor or control module. Moisture can seep inside and cause corrosion." – Bloomin’ Blinds
After resolving any issues, stick to regular maintenance practices to keep your system running smoothly.
Maintaining Smart Window Systems
To keep your windows in top shape, dust them weekly, check battery levels monthly, and recalibrate them every three months. Also, make sure to perform firmware updates when the window is stationary to prevent unexpected movement.
"Replace standard alkaline batteries every 9–12 months, even if the shades still move. Voltage drop occurs long before batteries are fully ‘dead.’" – Bloomin’ Blinds
Switching to lithium or rechargeable battery packs can extend replacement intervals to 18–24 months. Adjust automation schedules during extreme weather conditions – heat can soften plastic gears, while cold temperatures may thicken lubricants. For added peace of mind, consider annual professional service plans, which typically cost $75 to $150 per window. That’s a lot more affordable than the $300+ price tag for motor replacements. With these steps, you can ensure your smart windows remain efficient and reliable, as promised by Vinyl Windows Co.
Conclusion
Smart window automation delivers clear advantages for contractors, enhancing the value of their services in a competitive market. By implementing effective techniques, you can establish yourself as an expert in this growing field. The standout benefit? Energy efficiency. Automated systems help reduce HVAC strain by managing solar heat gain and leveraging passive heating throughout the year, making them a compelling choice for eco-conscious homeowners.
Professional installation takes these benefits to the next level. Key elements like precise motor calibration, dependable mesh networking using Z-Wave or Zigbee protocols, and smooth integration with voice assistants ensure systems are reliable and user-friendly. As David Bell, Smart Home Expert at Vesternet, explains:
"Proper planning, quality component selection, and professional installation create lasting value that evolves with changing needs and technological advances".
Durable materials also play a crucial role. High-quality vinyl window frames, such as those from Vinyl Windows Co, are designed to support motorized operators and integrated sensors while withstanding the thermal expansion cycles that come with glass-heavy installations. Vinyl Windows Co provides contractors with an excellent foundation for automation projects, offering energy-efficient Low-E glass, reinforced frames, and precision-welded corners. These features ensure that smart hardware can be added without compromising the structure or performance of the windows.
FAQs
How do I choose between Z-Wave, Zigbee, and Matter for a smart window install?
When choosing between Z-Wave, Zigbee, and Matter for smart window installations, it’s important to weigh factors like security, compatibility, and ecosystem support.
- Z-Wave stands out for its strong security features, operating within a closed network that prioritizes privacy.
- Zigbee is known for being versatile and energy-efficient, though it relies on an open standard that some may see as less secure.
- Matter aims to simplify things by offering seamless integration across different platforms, making it a great option for interoperability.
Your choice will depend on what matters most to you: robust security, compatibility with your current devices, or ensuring your smart home setup stays relevant for the future.
Do smart window motors need hardwired power or can they run on batteries?
Smart window motors can be powered in two ways: hardwired power or batteries.
- Battery-powered motors: These are rechargeable and work well for retrofitting existing spaces or locations where wiring isn’t available.
- Hardwired motors: These connect directly to the mains power, making them a better fit for new construction or larger-scale projects where electrical systems are already planned.
The best option depends on your project’s setup and specific requirements.
What framing or sealing mistakes can cause motorized vinyl windows to bind?
Improper framing or sealing during installation can cause motorized vinyl windows to bind, often due to frame distortion or misalignment. Common culprits include using the wrong shim materials or failing to properly seal gaps. For instance, unstable shims or neglecting to insulate with low-expansion foam can lead to bowing or warping of the frame. To avoid these issues, it’s essential to use the right materials and follow correct installation techniques.